Set up your company workspace
Add your company name, logo, contact details and default currency.
Before you send quotes, set your company basics: who you are, how clients reach you, and how Quest looks for your team.
- 1
Open Settings
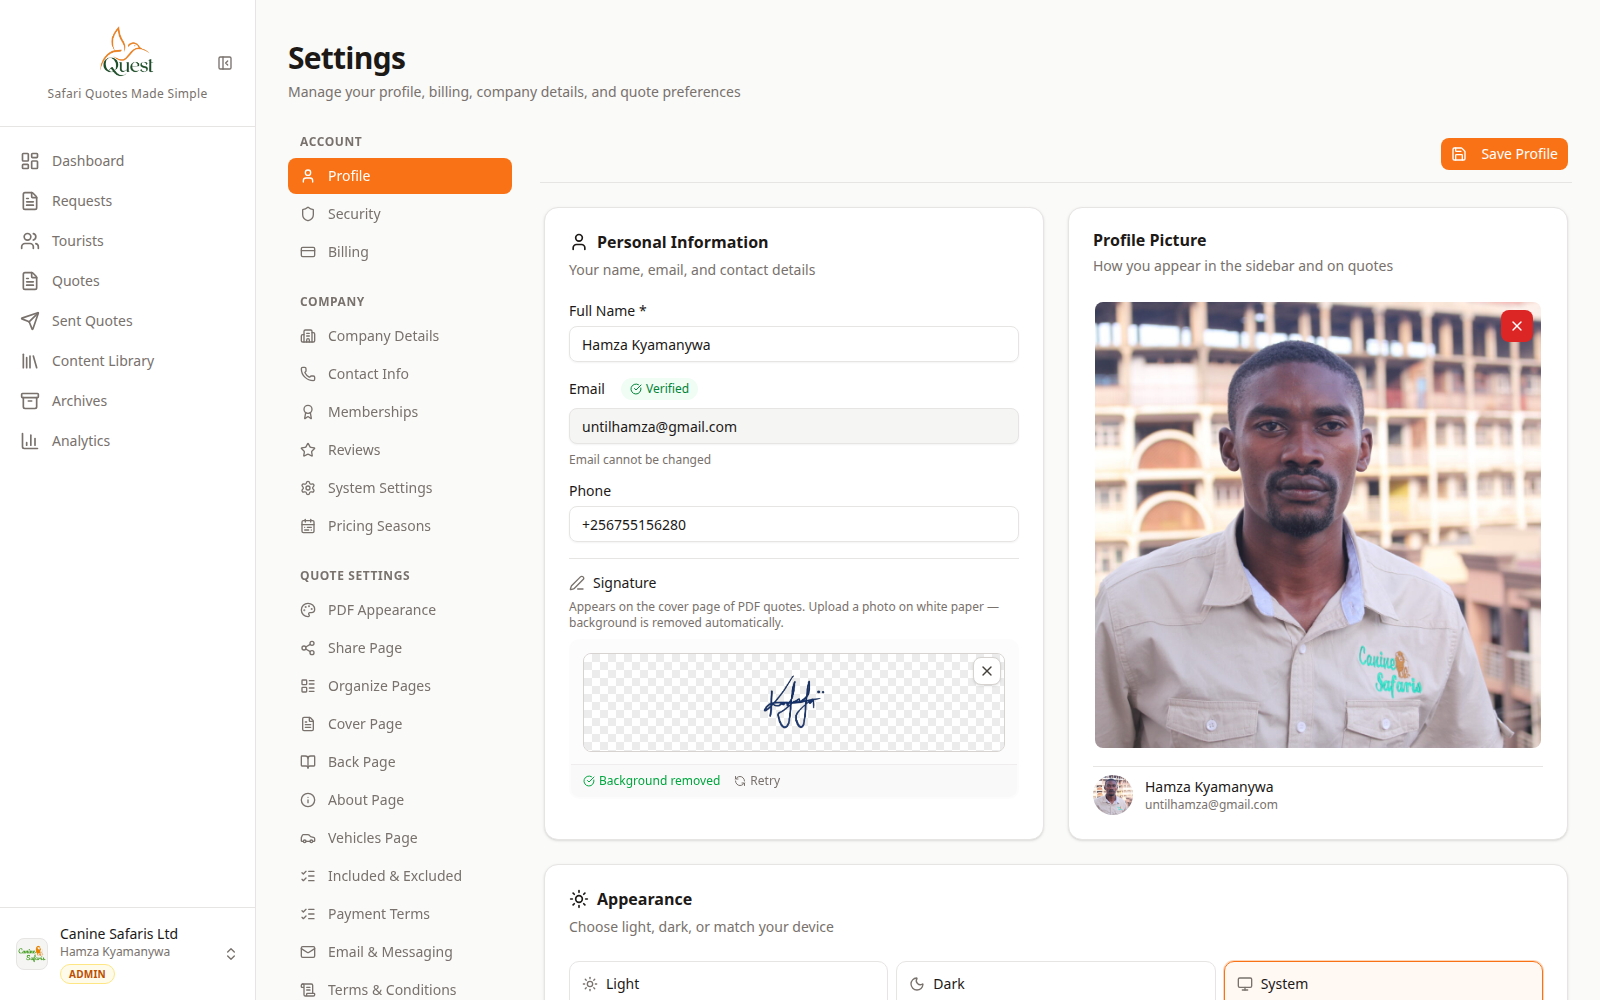
Settings
Your workspace settings hub.
What the numbers mean
- 1
Settings sections
Left list of settings areas (Company, Quote, Billing, etc.). Click one to open it.
- 2
Settings content
The main panel where you edit fields for the section you selected.
1. Click your name or photo (top-right).
2. Click Settings.
3. You should see sections like Profile, Company, Quote settings, and Billing.
- 1
- 2
Company name, logo, and contact
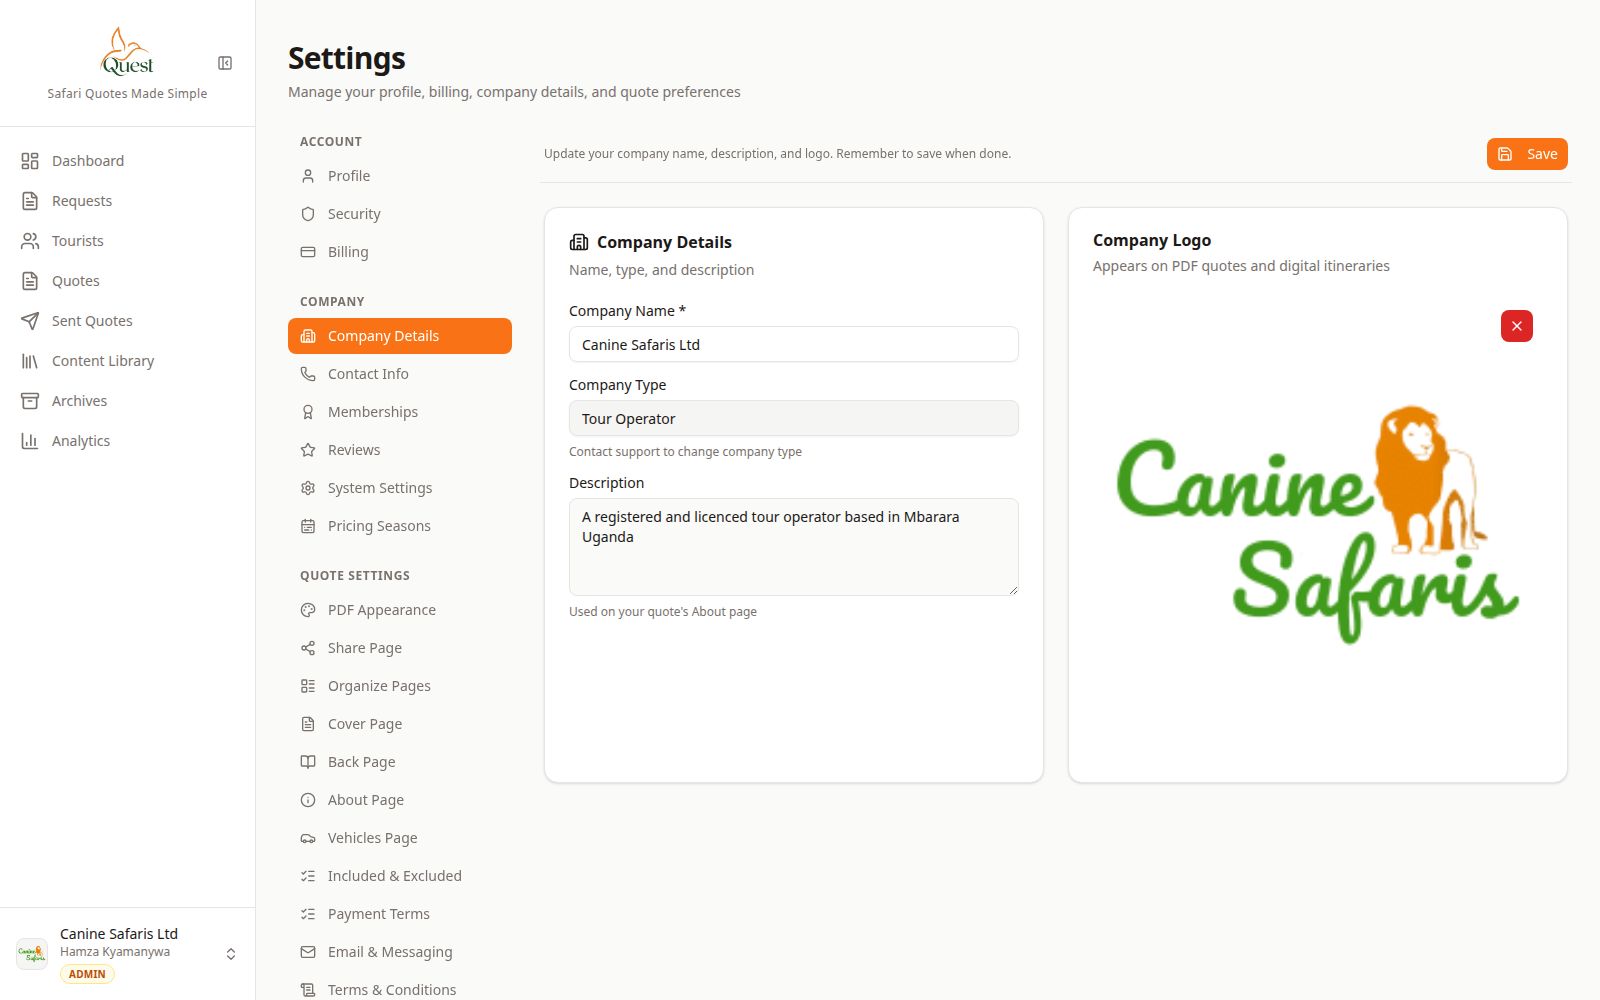
Company details
Company identity used on proposals.
What the numbers mean
- 1
Company profile fields
Name, logo, and contact fields that feed PDFs and share pages. Edit and save here.
- 2
Company tabs
Switch between Details, Contact, and other company tabs without leaving Settings.
1. Open Company → Details (and Contact if shown).
2. Enter the company name clients should see on proposals.
3. Upload your logo if you have one.
4. Add address / phone / email used on documents.
5. Click Save.
- 1
- 3
Quote look and feel (optional but recommended)
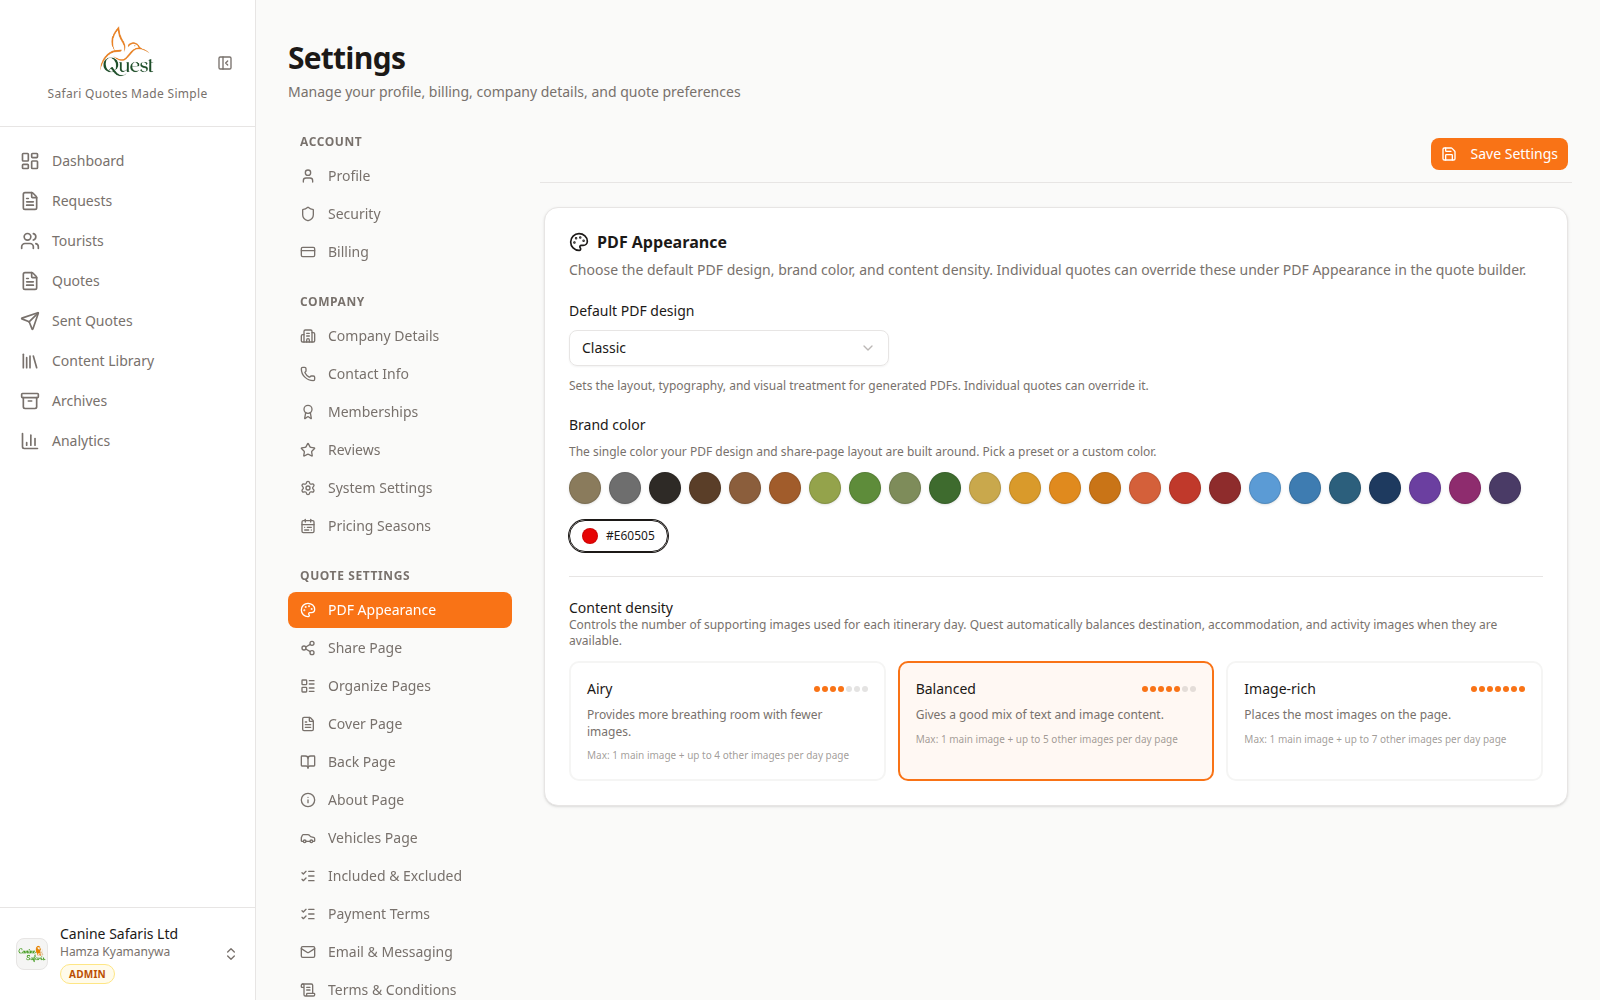
PDF Appearance
Branding for downloaded PDFs.
What the numbers mean
- 1
PDF / brand controls
Choose design pack, colours, and related PDF look options for client documents.
Under Quote settings, open PDF Appearance and Share Page to pick colours, layouts, and how client links look. Save when done.
- 1
Was this helpful?