Add destinations and parks to a day
Place a destination on the itinerary and pull in its park and concession fees.
A destination is the place for that day (for example a national park). It sits on the day card, drives maps, and can add park entry fees.
- 1
Open Build Itinerary and the day
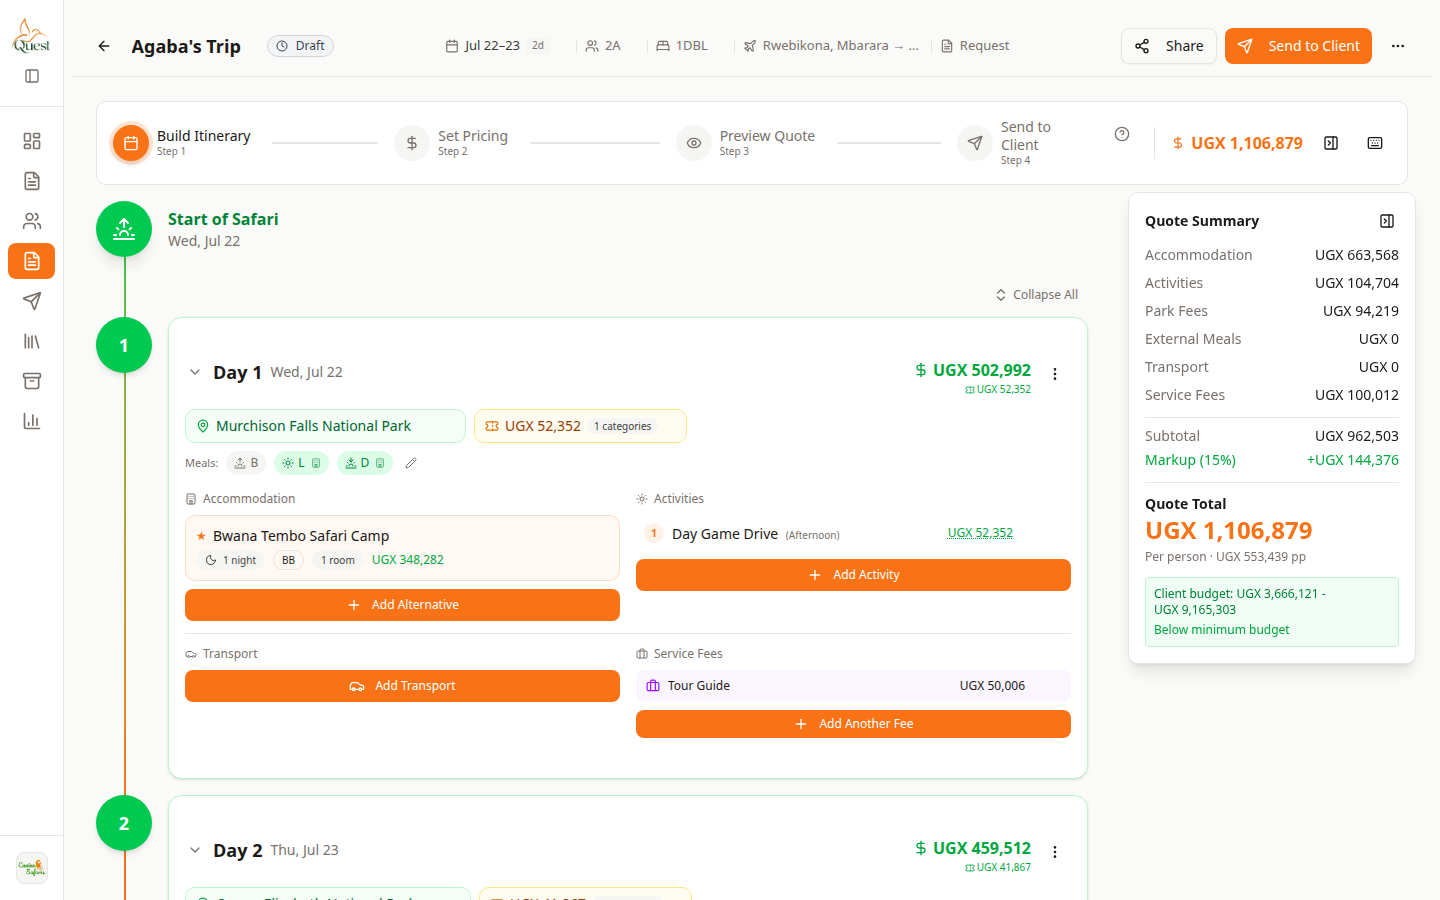
Build Itinerary
Day cards on the Build Itinerary step.
What the numbers mean
- 1
Build Itinerary step
Matches the red number on the screenshot: Build Itinerary step.
- 2
Day 1 card
Matches the red number on the screenshot: Day 1 card.
1. Open the quote.
2. Click Build Itinerary at the top (step 1 of 4).
3. Click the day you want (for example Day 1) so the day card is expanded.
- 1
- 2
Click the destination on the day
Destination field
The park / destination sits on the day header — click it to change.
What the numbers mean
- 1
Destination (park name)
Matches the red number on the screenshot: Destination (park name).
Near the top of the day card, find the destination line (often a park name with a pin, for example “Murchison Falls National Park”).
Click that name (or the empty destination field if none is set yet).
- 1
- 3
Search and choose the place
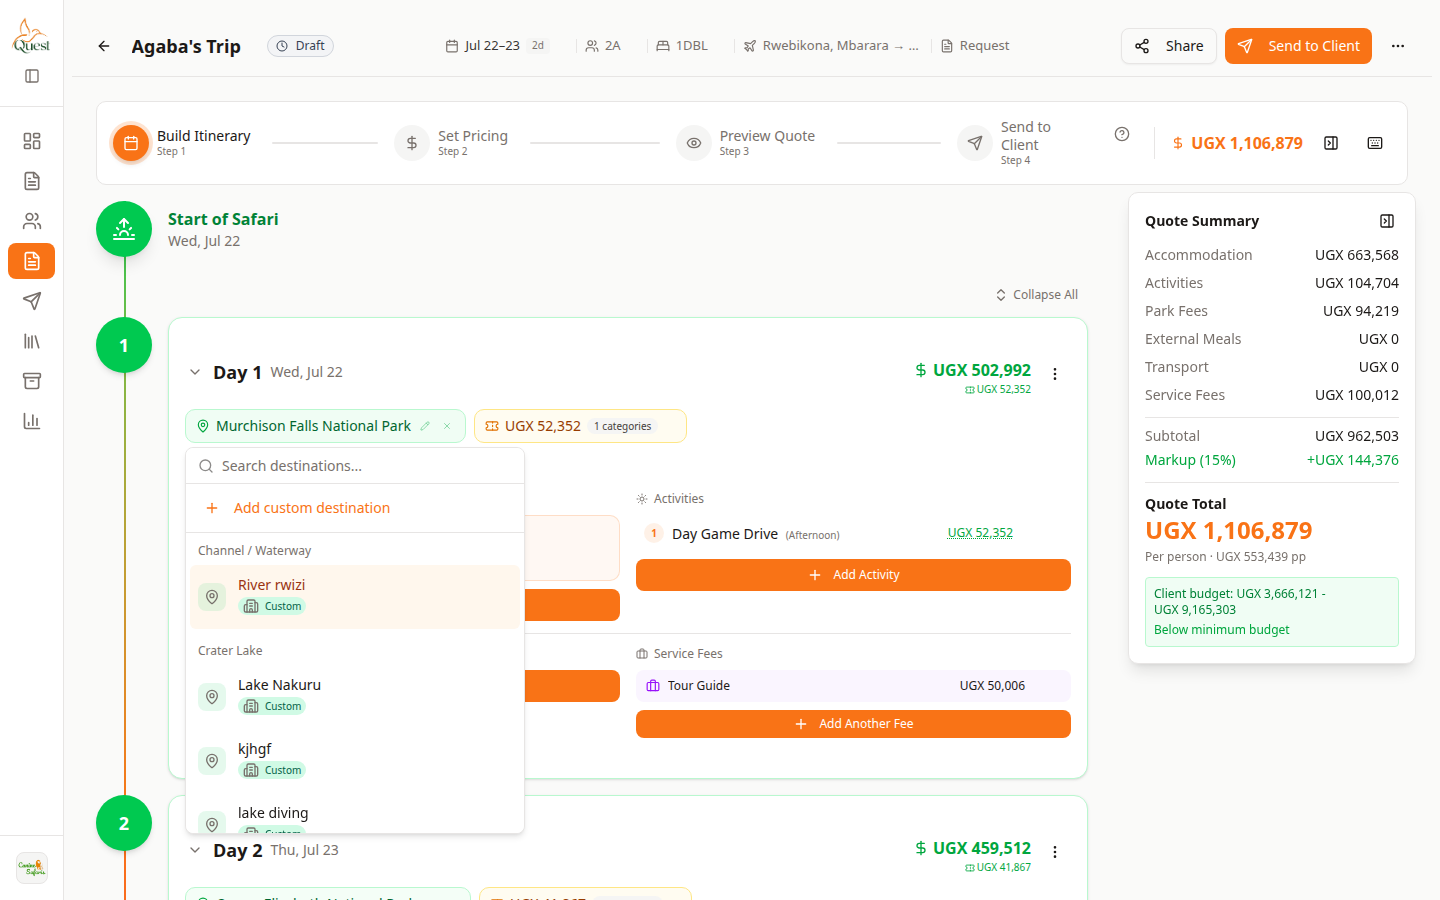
Pick destination
Search and select the destination for this day.
What the numbers mean
- 1
Destination search / list
Matches the red number on the screenshot: Destination search / list.
A list or search box opens.
Type the park or place name, then click the correct destination.
If it is not in the list, use the option to add a custom destination (when shown), then save.
- 1
Was this helpful?